
Overview & Context
OverviewWhen planning a home renovation, commercial tenant improvement, or custom build, visualizing the final aesthetic is exciting. However, paying an building designer hundreds of dollars an hour to render decorative wall paint colors or place virtual furniture is unnecessary in the modern design era.
At Canadian Blueprint, our philosophy is simple: we engineer the code-compliant structural bones and spatial plan, while empowering you with free tools to style the interior yourself.
Here is the exact step-by-step workflow to get functional 3D views and realistic interior concepts for free.
Step 1: Establish Your Scaled 2D Permit Plan
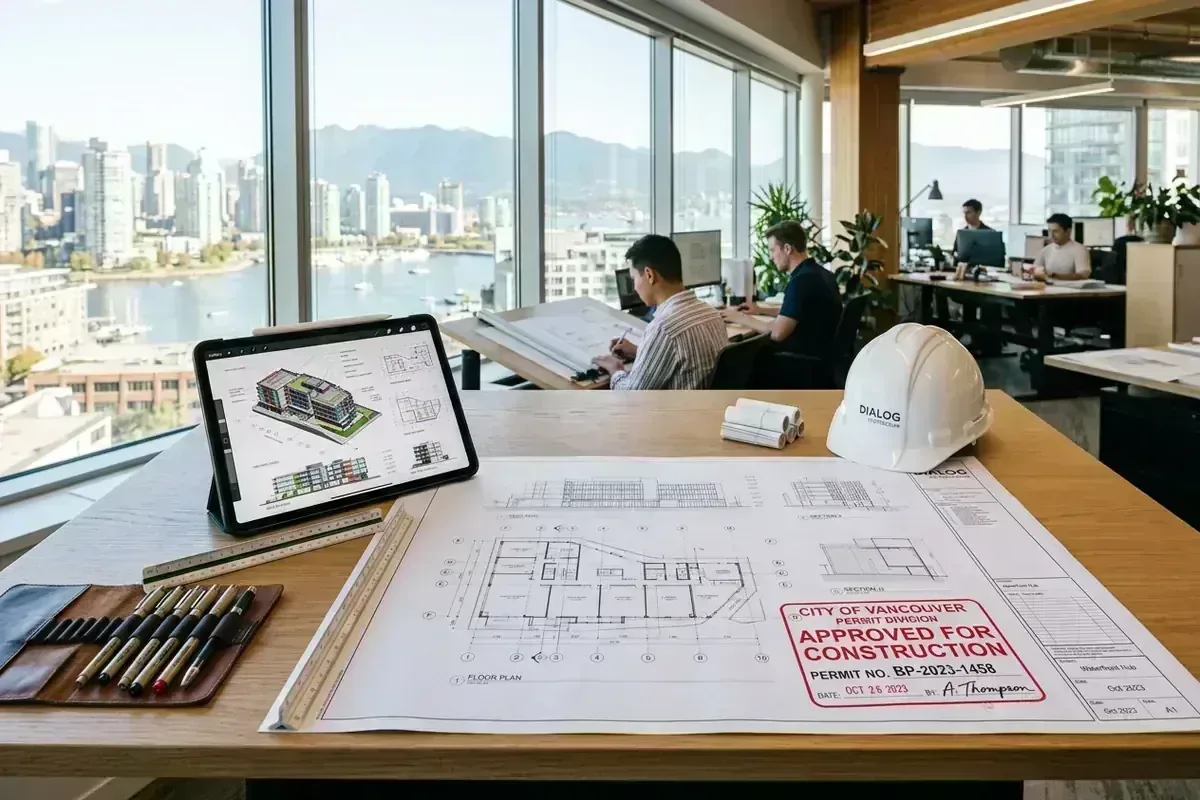
Phase 01Before you worry about tile patterns or paint swatches, you need accurate spatial geometry. You cannot design a functional kitchen or executive office on guesswork dimensions.
Our building permit packages provide the core 2D/3D BIM spatial framework:
- Exact wall-to-wall dimensions and ceiling heights.
- Code-compliant door swings, hallway widths, and barrier-free accessibility clearances.
- Structural load-bearing lines and primary plumbing stack locations.
Once you have this approved framework, you have the exact dimensional boundaries needed to drop into free design tools without risk of ordering cabinets that don't fit.
Step 2: Import Dimensions into Free Cabinet Software
Phase 02Never pay a permit consultant or architect to draft individual kitchen cabinet boxes or bathroom vanity drawers.
- Free Retail Planners (IKEA Home Planner): Tools like the IKEA 3D Kitchen Planner are completely free and web-based. Simply enter the wall measurements from our permit floor plan, and you can drag-and-drop upper and lower cabinets, islands, pantries, and appliances into a real-time 3D walkthrough. It automatically generates a dimensioned parts list and exact material costing.
- Local Custom Millwork Shops: Most custom millwork fabricators across Metro Vancouver and the Fraser Valley use specialized shop-drawing software (such as Cabinet Vision or Microvellum). When you source cabinetry through them, their in-house team prepares fully detailed, dimensioned shop elevations for your builder as part of their standard quoting process—saving you thousands in outside drafting retainers.
Step 3: Generate Realistic Aesthetic Styles Using AI
Phase 03In the past, generating a photorealistic 3D rendering with specific oak grain textures, marble veining, and warm pendant lighting required thousands of dollars in specialized 3D studio software time. Today, modern Generative AI has streamlined the process:

- Grab the Base Plan: Take a clean screenshot of our 2D floor plan layout or basic 3D BIM massing model.
- Upload to an Image Generator: Import the image into a generative AI tool or 3D renderer.
- Prompt Your Exact Aesthetic: Type your desired materials and lighting (for example: "Modern Pacific Northwest kitchen, white oak flat-panel cabinets, waterfall quartz island, matte black hardware, warm 3000K recessed lighting, large picture windows").
- Iterate for Free: Generate dozens of realistic color and texture variations in minutes to decide on your look before purchasing paint or tile samples.
Step 4: Finalize Your Vision for the Builder
Phase 04While the DIY route is perfect for standard residential kitchens, bathrooms, paint palettes, and office furniture layouts, consider hiring a dedicated Registered Interior Designer (RID) when your project involves:
- Complex Custom Interior Millwork: Integrated acoustic wood slat wall systems, hidden pivot doors, or coffered ceiling details.
- Boutique Commercial Merchandising: Specialized retail joinery with integrated low-voltage LED channel lighting.
- Commercial Material Compliance & FF&E: Selecting certified flame-spread-rated commercial textiles, acoustic dampening panels, and managing bulk furniture procurement.
(Curious why drafting custom interior elevations across 50–300 wall planes drives up drafting fees? Read our transparent breakdown on Interior Elevations & 3D Rendering Drafting Costs).
So, Should You Do It Yourself?
GuideAbsolutely.
Taking the time to lay out your own interior ideas in free cabinet software or AI room planners is one of the highest-ROI steps you can take before construction. Walking in with a clear 3D layout generated from our permit plans eliminates expensive discovery meetings and revision loops with interior designers and custom millworkers.
Even if you ultimately hire an Interior Designer to fine-tune bespoke joinery, finish schedules, and decorative lighting, giving them your preliminary 3D concept boards cuts their billable hours in half and gives them a clear target from day one.
And when you hit that inevitable speed bump—like coordinating structural load-bearing walls, meeting Part 9 barrier-free clearances, or submitting a code-compliant building permit package to City Hall—don't worry, our team is ready to step in and engineer the technical drawings.
- Master Permit Guides: 8-Step Master Permit Approval Process • BC Building Code 2024 Online Access
- Project Guides: Home Renovation Permits • Commercial Tenant Improvements • Custom Home Permits
- Consulting & Costing: Interior Elevations & 3D Cost Guide • BIM 3D Modeling Services • Find Your City's Online Permit Portal

Canadian Blueprint Inc.
BC Building Design & Permit Drawings
Published • Updated